Drafting film? No thanks.
- Helen Carter

- Feb 15, 2025
- 3 min read
Said anyone who hasn't tried it yet.
Drafting film takes a bit of getting used to it's true, and there are pros and cons to using it, sure. But for me, the sharpness of my lines, the intensity of my colours, and the fact that I can erase - something that I can't do easily on other surfaces, does make the learning curve worth it. Here's a few pointers on getting the right film for you.

Firstly, Drafting Film is not the same as Tracing Paper. The latter is made of paper, and doesnt take colour pencils well at all. Drafting Film is a semi-transparent polyester sheet, traditionally produced for architectural plans and technical illustrations, back when they used to be hand-drawn with ink pens. I remember working on it when I was in the drawing office. These days it is widely used by artists for graphite and colour pencil, as well as for making stencils, for inks and other mixed media applications (I'm wondering if it'll go through a Cricut?!)
There are a few drafting films available, but they don’t all work or feel the same. The most popular film for colour pencil artists is simply called Drafting Film, made by Grafix, who offer two similar products. "Drafting Film" is the professional grade version which comes in different thicknesses (.005” being the thickest available and .003” being the thinnest, and most easily creased) It is sold in large, rolled sheets that you can cut to size at home and is more textured than their smoother, thinner feeling, Dura-Lar. This is more affordable and comes in easy-to-store pads in various sizes, but the smoother surface means fewer layers. Another choice is Polydraw, distributed by West Designs (or made by them, I can't quite work out) which is available in rolls and pads. This has a texture similar to Dura-Lar. It is thinner and more prone to creasing, but works the same. Then there’s Mylar, well that’s more a catch-all term for plastic papers rather than a specific product. Those are the only three I'm aware of for colour pencil artists.
Your best option is the matte-both-sides versions. The special coating is softly textured which, though smooth, yes, but has enough tooth to hold more layers than you expect, though still far fewer than, say, Pastelmat. You can build layers quickly and with such a brightness that you’ll be amazed at the pigment suddenly coming out of your pencils! One reason for this is that you aren’t fighting to cover the white of a page and so long as you have the double-matte version you can add more colours to the back of the film, which will intensify what you see on the front. I love working on the back to soften some of those precise scratched-out textures, or to deepen shadows, create subtle hue shifts, even make a highlight really pop with white on the back! It does mean that I’m drawing it all twice, and it takes a long time doing it like that,
but the results are worth it.


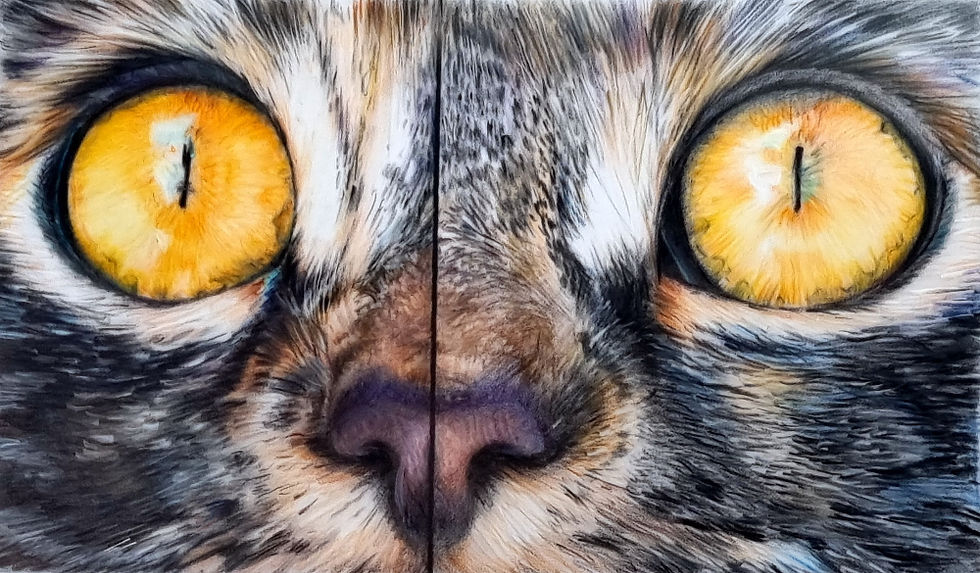
Another thing I love about this surface is the ability to affect the already completed drawing with different backing papers. Take a look at the three lazy Panchos below, and notice how each is slightly different. The bottom cat has a white backing, which makes the colours pop but the white fur is almost too bright in places. The middle cat has a rich sienna backing which has given everything a much warmer, pinker look. I love his belly in this one. The top cat is backed with black which has cooled everything down, reduced the contrast a little, although his fur looks silky shiny with that slightly blue/grey look.

I prefer the white, because it was a bright sunny morning when Pancho was lazing on the doorstep, and I like the almost blinding white of his fur making him squint!
I’ll go into more detail with some useful tips, tricks and techniques in the next Blog. For now, this gives you an idea of the why for film. Now you just need the how.
In text links are affiliate links. If you use them and make a purchase I may receive a small reward (like, 10p or something) at no additional cost to you.


Really helpful. Thank you.
This post is a fantastic guide for artists exploring new mediums—your insights into the texture, layering, and versatility of drafting film are both practical and inspiring. Just as finding the right surface can elevate your artwork, smart online shopping habits—like using curated discount codes—can help creatives make thoughtful, value-driven choices for everything from art supplies to studio essentials. If you're looking to save while you shop, Coupon Mama UK offers handpicked deals that make each purchase feel like a creative win.
Well-written explanation of the "why" to use drafting film. Thank you